Tuesday, January 31, 2012

Color Club Blue-Topia


Color Club Blue-topia from the 2011 Back to Boho Collection
I started picking up the Color Club collections when I noticed they were showing up at discount stores like Ross for only about $8 a set. I will admit that because they were sold as a set at a discount store, I probably had passed them by a million times before I saw pictures of the Color Club polishes being posted on the nail board. Shame on me for discriminating against this brand! As Back to Boho, Foiled, and Beyond the Mistletoe released, I built up my little army of Color Club polishes. These really are great polishes, especially for the price. The square shaped bottle makes them easy to store. The brush is a pretty standard round brush- nothing as glorious as the OPI Pro-wide, but nothing like the horrible mop like brushes from Wet’N’Wild Fast Dry. Overall, Color Club is a solid brand.
Color Club Blue-topia is an inky blue jelly. Being a jelly, a slightly streaky first coat is to be expected, but by the second coat this color was opaque- awesome since some jellies need many coats to eliminate visible nail line. The consistency of the formal was great- not to thick, not to thin, and very easy to paint with. With darker colors, like Blue-topia, this is really important to me because I do not like to do any more clean up that I really have to. I also noticed this polish had a pretty quick dry time without top coat, and a lovely shiny finish. I think this would be a great color as a base for layering flakies or glitters.


Do you ever find the Color Club sets at discount stores?
Have you tried them?


Sunday, January 29, 2012

OPI Sand-eralla


Base: Sinful Color Winterberry
Layered with: OPI Sand-eralla from the 2003 It’s Summer for Shore collection
This was the epic, for me, Craigslist find I posted about. As may have seen, she had a rough life. When I found Sand-eralla, it was a goopy, rather dried up mess of a polish, however, with some thinner and patience, I am proud to show you the results today.
Quick note on this polish- it was a black label OPI because of the age. The black label indicates that this before OPI was free of dibutyl phthalate, which occured with the green label change in mid-2006, nor toluene free, which happened in the U.S. around 2007. This polish was also made before the Pro-Wide brush introduction in 2006. I did miss the new brush in application, but for the color, I would have painted with a q-tip if I had to!
This is 2 coats of one of the most beautiful polishes I’ve ever had the chance to play with. Sand-eralla is a lovely lavender linear holo. It the right light, the rainbows just dance on your finger tips- it is incredible! The pictures were not easy to take, but I it was fun finding the perfect light to pull out all the color in the polish. It was so easy to apply with no clean up, and I am happy to report that Seche Vite did not dull the holo effect at all.


Are you a fan of linear holo polish?
What is the most incredible polish you have? 

Saturday, January 28, 2012

Naked Nails!

I am rarely without polish, so I thought it would be fun to have a "naked nails" polish.
I believe I am wearing base coat in these pictures, but aside from that, they are bare ;)


Do you ever go bare? ;)

Friday, January 27, 2012

Sinful Colors Winterberry


Winter harvest- Winterberry
Sinful Colors Winterberry from the 2011 Destination America collection
Sinful Colors is a brand that does not get enough attention in my opinion. I have to give them credit for offering such an exceptional range of colors at such an affordable price point. When I was first getting back into polish, this was my go to drug store brand- it was a nice way to experiment with new colors without dropping a fortune. I do have mixed feelings on the fact that most of their collections are OPI knock offs. For example, today’s polish, Winterberry, came from the Destination America collection, a knock off of OPI’s Touring America collection. I am also slightly disappointed that it seems that the colors in their collection are often re-promotes of core color instead of new colors. That said, I’m still happy enough where I still purchase them. I have no complaints on the bottle, and unlike some inexpensive drug store brands, the brushes are decent and of consistent quality (Wet’n’Wild, I’m looking at you!).
Winterberry was a color worth buying, as it was not a re-promote, and I don’t have anything identical to it in my collection. I would describe the color as a dusty grape with hint of silver shimmer. It is a lovely crème that started out easy to apply.  What do I mean by started out? Well, the first coat of this polish went on with no issues, virtually no clean up, it was so very nice! Then, when I started my second coat, I noticed the polish had become kind of goopy, like it was already seizing up a bit. I ended up using thicker coats to make it easier to paint with- that was a bad idea. The thicker coat never completely dried and resulted in some bubbles. I was able to doctor it up, but it was so disappointing that such a lovely color which initially such easy application did not end as well as I expected.


I thinned the polish and will use it again only because I liked the color so much.
What is your favorite drug store polish brand?
How do you deal with bubbling polish?

Wednesday, January 25, 2012

Finger Paints Vintage Velvet and Finger Paints Flecked


Layering flakies!
Base color: Finger Paints Vintage Velvet
Next layer: Finger Paints Flecked
Topped with: Pure Ice Heart Breaker
Finger Paints are available exclusively at Sally’s Beauty Supply. As I’ve mentioned, I have no real qualms with this brand. I will say the brush isn’t ideal for my nails. With wider brushes, such as OPI’s brushes, it is quite easy to reach very close to the cuticle without actually touching it by applying gentle pressure and bringing it slightly when painting center portion of your nail. With Finger Paints, the brush is a bit narrower, and I found I really wasn’t able to use the same technique. The clean up wasn’t terrible, but you can easily see a few spots where I got polish on the skin. The color was worth it though. Vintage Velvet is a dusty true teal- it’s much darker than OPI Mermaid’s Tears, but much lighter and less blue than OPI Ski Teal We Drop. I am a sucker for a good crème.
The next layer was another Finger Paints polish. Flecked is a wonderful flakie polish packed with green, teal, and blue flakies depending on how the light hits them. As my friend put it, they look like mermaid’s scales.  Because Flecked is in a clear base, it is ideal for layering- I can imagine wearing it any other way. I really liked this one over teal because the flakies were present, but subtle.
To top it all off, I used Pure Ice Heart Breaker. I’ve seen Pure Ice in Walmart and Walgreens, but I know it is available elsewhere. It comes in a square shaped bottle, not completely unlike Barielle’s, and like the Barielle, it makes for easy storage. The brush was acceptable for a budget polish. Heart Breaker is another great layering polish! This polish has a sheer aqua base and a green/aqua shimmer. I love how fine the shimmer is- it adds a sparkle, similar to glitter, but in a delicate dusting. I thought this would be a great polish for giving the entire nail a beauty sparkle, even in spots where there were no flakies.
You’ll probably see more layering manicures posted. I love doing these because I can try several polishes at once, and create a look you just can’t buy in the store.


Do you have a favorite teal?
How many layers was your thickest polish layering?


Tuesday, January 24, 2012

Nail Mail!

I had to share the super sweet random act of kindness I got from a nail board buddy in Ireland!
She sent me 6 awesome Nabi glitter bombs including Party Mania Glitter, Pink Jumbo Glitter, Multi Star Glitter, Blue Glitter, Purple Jumbo Glitter, and Sky Twinkle. These are so fun!

As you can see she also sent some extra yummy Cadburry treats- their chocolate is so much better than the Cadburry chocolate in the U.S. Isn't the owl on the chocolate buttons adorable?


Sunday, January 22, 2012

Deborah Lippmann Across the Universe


All Across the Universe
Base: OPI Dating a Royal from 2008 Mod About Brights collection
Topped with: Deborah Lippmann Across the Universe
This is my first, and as of this post, only Deborah Lippmann polish. Why? Biggest reason- $18 is a lot to drop on a single polish. I have a pretty humble budget, but when I had some Amazon.com credit, I finally splurged on this one. Also, this brand is not available in store anywhere near me.  I prefer to see a polish in person before buying it, but the number of swatches online tempted me so. Finally, there are quite a few Deborah Lippmann near dupes out there, so for me to make a purchase of that price, it needs to be something quite unique.
Without a doubt, the presentation of the packaging and bottle really make it stand apart and you feel like you might have had a decent reason to spend so much on a polish. I love that it comes in a little plastic box because I despise picking up a new polish and discovering someone has already swatched it. The design of the bottle is lovely too- a bold square design that almost makes it look like a tiny award. I had no issues what so ever with the brush either, so no complaints.
The polish itself is a dark blue jelly base with teal, and green hex glitter surrounded by smaller bright blue glitter. In the bottle, it looks just amazing, and every time I see it, the Beatles song plays in my head. This has been a huge lemming of mine for quite some time!
I layered 1 coat over OPI Dating a Royal. To be honest, this combination did not delight me as much as I had hoped. I think because Dating a Royal was quite opaque and I only used 1 coat of Across the Universe, it just wasn’t as deep as I had hoped- it simply lacked that mystical dimension I had imagined. The application also reminded me why I don’t wear large glitter polish much. I did have to move the glitter bits quite a bit once they were on my nail to try to get an even distribution.
Here is the end result- I got many compliments on it, but I think I had just over hyped it in my head.


I’m not letting go of it, but I am going to take a different approach with it next time.
What is the most you’ll spend on any one polish?
Ever feel a little let down after fulfilling a lemming?


Friday, January 20, 2012

OPI Dating a Royal


Blueberry Crème or Jelly?
OPI Dating a Royal from the 2008 Mod About Brights Collection
After loving the flakies for a few days, I really wanted to use an untried I had heard so much about- OPI Dating a Royal.  As with all OPI, the bottle is only okay for me, not an ideal design, as it can easily be knocked over since it has a smaller base than top. The brush is great for my nails- a nice wide spread, but not so much I end up with a mess.
Dating a Royal is a true blue, perhaps a silly word play on being blue blooded (oh Suzi, you make me shake my head sometimes with your silly names)? The finish on this is very interesting as it falls somewhere between a crème and a jelly. It’s a bit too thin to be considered a true crème, though very wearable at just two coats, which isn’t normal for a jelly. It looks lovely on its own, but is a nice base for layering as well.
I have to rave about the formula on this polish! I was in a bit of a rush when I was putting this color on- not a good thing for dark colors, which can stain easily and are very noticeable on the skin. Despite my rush, this color was so easy to apply that it required virtually no clean up! This makes it a real keeper for me! The only place the polish ended up was exactly where I put it. <3 this color!


Do you consider Dating a Royal a crème or jelly?
What is your favorite blue polish?

Wednesday, January 18, 2012

Barielle Elle's Spell


Barielle Elle’s Spell from Barielle’s Holiday Hustle 2010 Winter collection
Barielle’s are easy to find on their website, www.barielle.com , and it seems they are always running a special, at least buy 1 get one half off. The bottles are .45 oz, so they do give you a very reasonable amount of polish, though slightly below OPI’s .5 oz bottle and Orly’s .6 oz bottle. Their simple square design stores wonderfully, with a stable enough bottles where there are no tipping issues.
On to the polish! In case you couldn’t tell, I adore flakies! They are more subtle than glitter, but flashy enough to perk up just about any polish. Elle’s Spell is a red jelly with beauty flakies that shift from gold to green, copper, and even a hint of blue. They really do make me think of a flame. Have you ever looked closely at a flame, on a candle for example, and seen that blue/green glowing base, leading to a spectrum of orange, glowing into red and surrounded by a yellow halo? That is really what this polish makes me think of. I’ve only used this for layer over red so far, as jellies take many layers to build up, but every time, I fall in love with it again. I’m very happy with the density of flakes on this polish- they cover the nail with just enough magic where you can’t help but stare.
As pictured, this is layered over Bullish on OPI, but only 1 layer. This was the perfect top coat for taking a nice, office appropriate red to a fun, flirty weekend manicure! I topped all with a coat of Color Club Clear and it was good to go.


Do you have any Barielle polishes?
How do you take your manicures from conservative to party?

Sunday, January 15, 2012

Fun with layering featuring Finger Paints Asylum

I was inspired on this one, but for the life of me, cannot remember where I saw it.

Base color; Essie Midnight Cami from Essie’s 2009 Cuddle with Color collection
I do like Essie, while I have heard mixed things on them; I have yet to have one that didn’t play well with me. The square bottle makes storage easy, and while the brush is small, it’s still easy to use. Midnight Cami was nice navy shimmer, and for layering, one coat was fine. If I was wearing it on its own, I would likely use two coats because I like my color opaque. Midnight Cami is such a great color because it’s dark blue, but without being so dark you’d mistake it for black.


Layer 1; Orly Androgynie from Holiday Soiree 2011
Orly is a favorite brand of mine. They have so many good qualities! The bottles are a full .6 oz! For reference OPI’s are .5 oz, Essie’s .46 oz, and Ulta’s current bottles are .3 oz, so this is quite generous. Second, the bottom heavy design is great because it prevents them from toppling over easily. Finally, that rubberized cap rocks! I have actually chipped nails trying to remove stubborn caps from nail polish, so I am in love with their easy grip tops.
Androgynie is a mix of glitters, gold, multicolored, small and large in a black jelly base. In the bottle, it rocks my world- when I first got it I just played with the bottle, examining, and admiring the contents. On the nail, I was a bit disappointed. The density of the glitters in the bottle looks perfect, but it would take many, many layers to build it up to what you see in the bottle. I still liked it, but I think I was so excited for what I saw in the bottle that not having that same density was a letdown.


Layer 2; Finger Paints Asylum from Finger Paint’s 2012 Special Effects collection
I don’t own many bottles of Finger Paints polish. I think because it’s a Sally Beauty Supply store brand, I’ve discounted it. To top it off, not many of their collection have blown me away. The bottle is okay, I believe it’s supposed to look like an ink well. The cap doesn’t quite thrill me- it’s a very thin top, and when it gets stuck, it’s quite a chore to remove.
That said, Finger Paints shocked and surprised me with the release of an entire collection of flakies! Oh, I love flakies- they can take a dark color and make it pop, they are more subtle than glitter (in my opinion), and they make my heart pitter patter. I stalked Sally’s after seeing the press release for this collection because I did not want to miss out. This collection was amazing- it brought flakies to the masses at an affordable price. Many of these are dupes of Nails Inc. flakies, sets which run $20 for a set of a .33 oz base color and .33 oz flakie. Asylum is a stunning mix of deep blue, purple, and orange flakies with some green and gold. I couldn’t help but stare at my nails when this was on.


Overall, I think this layering experiment was a success, though my nails did end up a bit thicker than I would have liked. It was very pretty- you could see little bits of the Androgynie glitter peeking out from the Asylum flakies. I had used Midnight Cami as a base hoping some of the blue would come through, but it seems the black jelly from Androgynie canceled out the blue.

What are your thoughts on flakies?
Do you ever layer your polishes?
Do you have a favorite layering combination?


Friday, January 13, 2012

Finding love in unexpected places- OPI Sand-erella

What a great morning! I just had to share a little joy and excitement.
Earlier this week I searched for nail polish on Craiglist’s list. More often than not, this usually just results in a ton of results for at home manicurists and pictures of their work (I will spare you from those!). This week though, I found an advertisement with the headline, “Nail Polish – Hundreds To Chose From”. How can that not catch my attention?!? I opened up the ad and read on; They were selling nail polish for 50 cents a bottle- there was a small picture of the display, but nothing could really be identified. Now, hundreds was certainly an exaggeration, but when I showed the ad to a friend, she pointed out that quite a few bottles were OPI, so I had to take a look.
The placing selling the polish was a little hole in the wall with a hodgepodge of items obviously collected from yard sales, so I quickly made my way to the display from the posting. Initially, there was a little let down; The bottles were used, most of them extremely dried out, and there weren’t as many OPI bottles as I had hoped. Despite being disappointed, I started fondling the bottles, looking for some magic. Then, I spotted it- it was purple, and had a hint of holo… I flipped over the bottle to read the name and I couldn’t believe it, in black letters it read, “Sand-erella”. I got a little lightheaded, grabbed a few more bottles that looked interesting, though none as interesting as Sand-erella, paid, and once in the car, called a friend who would understand why I was squealing like a mad woman.
At home, I gained my composure just long enough to snap a few pictures to share. Here are the before pictures….
Bottle shots
                                               
 The black label


 Ewwy gooey
 If you don’t know the magic of nail polish thinner, you must hunt some down immediately. You can easily find it at Sally Beauty Supply, and their store brand, Beauty Secrets, only runs $4 a bottle. Nail polish does NOT expire! Most of the time when people claim their polish “expired”, is has only separated (which is usually fixed by a good shake), or thickened. If thickened, you can add some polish thinner and it’s good as new. Start with a few drops, shake, check the consistency and repeat until you have reached the desired result.  Going back to my dear Sand-erella, it was thick and gooey, but I added a liberal amount of thinner and shook it like crazy. After I heard the balls come free (again, where is your mind going?) and start to agitate the polish, I knew it wouldn’t be long before Sand-erella would once again be usable.

Sand-erella meet thinner- you will quickly become good, good friends


After a decent amount of thinner and some shaking, look what we got…
After some love!


Yes, a perfectly good bottle of OPI Sand-erella, full right up to the line below OPI, for only 50 cents! You never know where your next great find will come from, so keep your eyes open!

Where are some of the more random places you’ve searched for nail polish?
What has been your most amazing polish find?

Thursday, January 12, 2012

Organization - Storage

I’m including some organizational tips, as I am a person who hates being disorganized. Now, to anyone who has seen the inside of my car, I want to clarify that to me, physical organization does not necessarily refer to being a neat freak, but it does mean being able to find the things you’re looking for with minimal effort.
The place to start, in my humble opinion, is proper storage. Why start there? Well, when was the last time you couldn’t find something, for our sake a polish, and it drove you nuts? In the beginning, this would happen to me more often than I care to admit. My polish lived on nightstands, in bathroom drawers, on top of dressers, and so forth, so when I wanted to find a certain color, I would go a little crazy in my search and frantic over the fear of loss.  
Rules for organization; as cliché as it is, “A place for every polish, and every polish in its place.”
 This is extremely important because  if everything has a consistent place that it goes when not in use, you’ll be able to find it later. 
Depending on the size of your stash, you may be fine with a couple of Sterilite bins. For some time, I was able to use a few of the 6 Qt shoebox style bins to store my polishes. I liked these because they fit under the bed, so they were out of the way, they had clear sides, so at a glance I could tell what the contents were, and they were rather inexpensive at roughly $1-$2 each. Depending on the size of the bottle, I found I could squeeze in between 40-50 polishes per container.
Bin from picture from Sterilite.com 
My "stash" quickly decided to multiply and demanded more space


 If your stash decided to multiply like rabbits, as mine did, the next step up is what is often referred to as a “melmer”. Please keep in mind “melmer” is just a nickname, so you will not get very far looking for it by that name. The most common version of melmer I’ve seen is available for purchase at Michael’s craft store, the JetMax Modular Storage cubes. These are simple plywood cabinets with sliding drawers that fit nail polish perfectly! They aren’t terribly difficult to assemble, though I don’t recommend doing your nails before you start (half joke). They only require a screwdriver and roughly half an hour of your time, but know that when you open the packaging, you’ll find little more than some boards and bits. Purchasing shelf liners is also a great idea- the little bit of grip they add with help preventing polishes from falling over when drawers are opened. These will hold roughly 300 polishes depending on bottle size. I do not really recommend filling them to the max though- this is a plywood storage solution, and if a tray were to give, I can only imagine the mess. Two pieces of advice on this; First, never, never pay full price for these. They are almost always half off, or if not, Michael’s website has printable coupons to make them considerably less expensive. Second, when I assembled mine, loaded it up and used it for the first time, the drawers had a terrible squeak! It was so bad that I didn’t want to open the drawers unless I absolutely had to. After experimenting with a few different lubes (now, now, where has your mind gone?), I found that applying furniture polish, such as the aerosol lemon Pledge, made a world of different. Simply give the rails of the unit a generous spray across the entire length and it should eliminate most, if not all of it.
My "melmer" with shelf liners
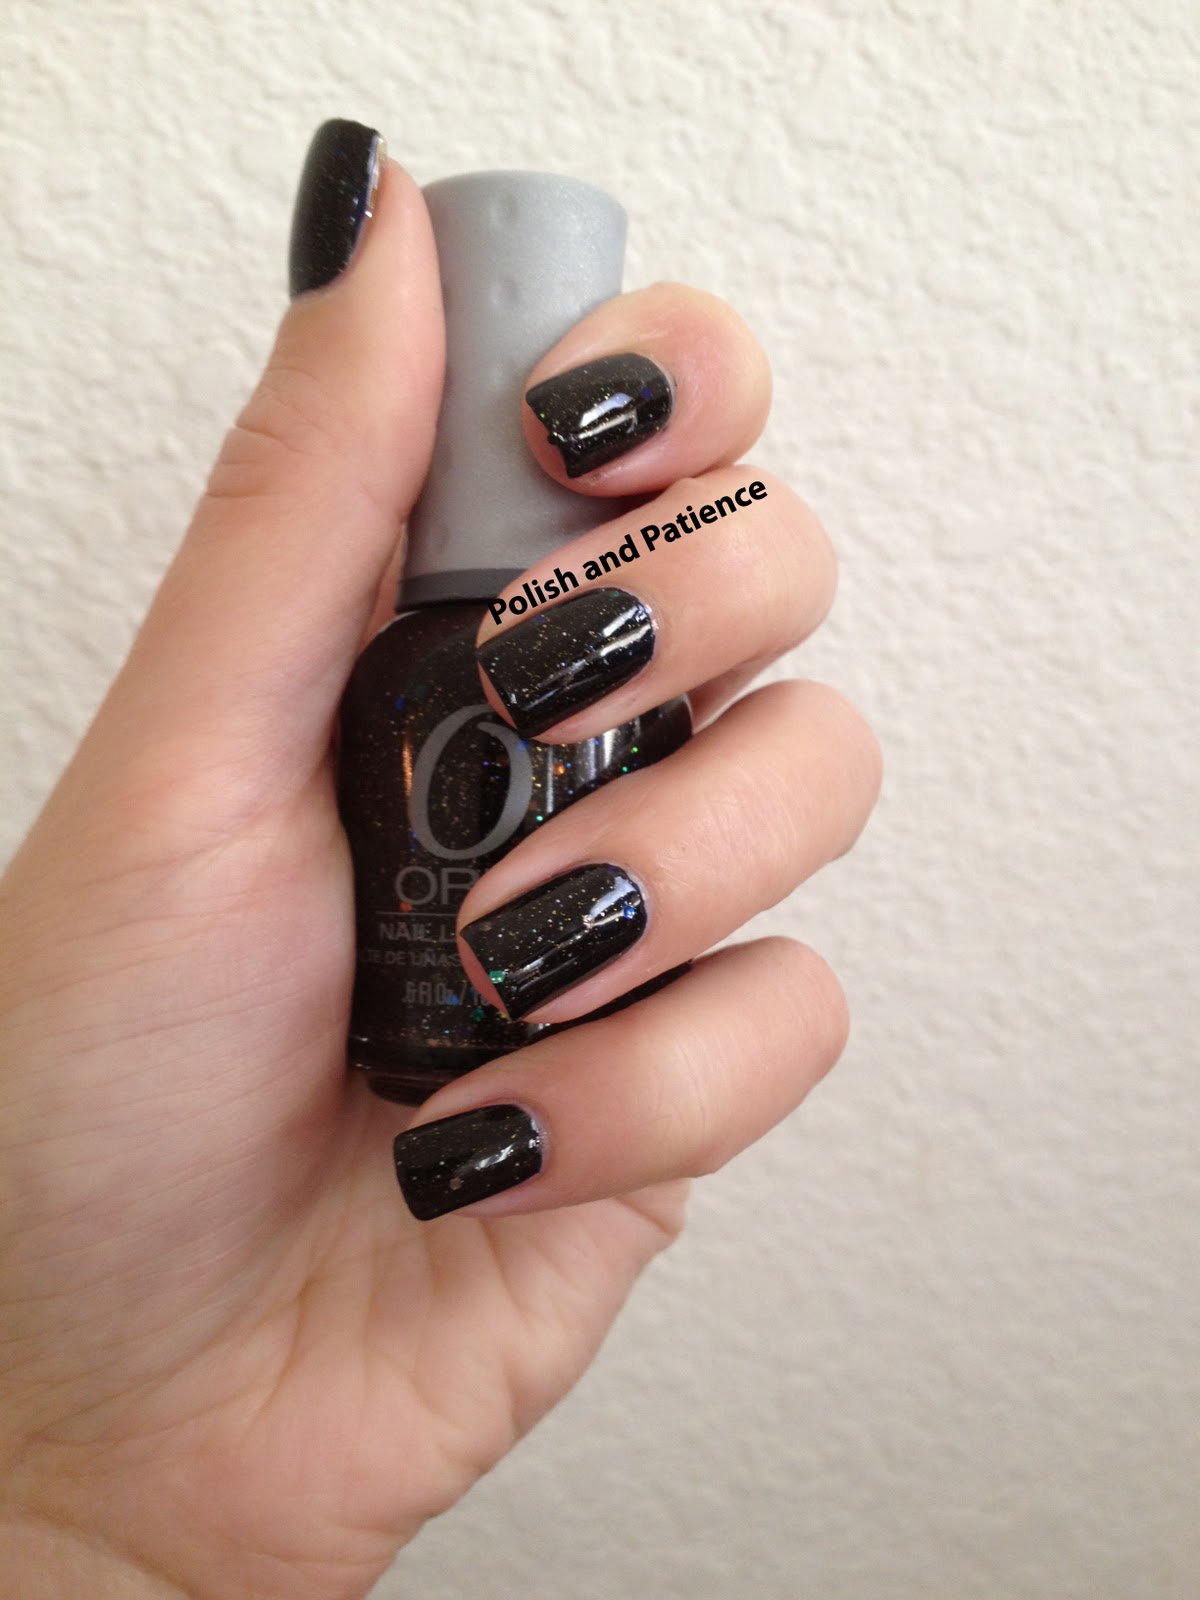
A quick look into a drawer that is probably too full. As you can see, I like to sort them by brand, then color

The melmers are where I am currently at, though I do have 2, but beyond that you can find Helmers at Ikea. Helmer is the actual name of this storage unit, and currently you can purchase it in red, silver, or white. This storage unit is metal, does require assembly (let’s not be surprised, it does come from Ikea!), and has six drawers. It can hold between 400-600 bottles of polish depending on the size of the bottles. I wish there was more I could tell you about this unit, but I don’t have any firsthand experience with it. Many people do find it to be a great storage solution, and if you’re an avid nail polish collector who lives near an Ikea, I do recommend checking them out.
A picture of a helmer from Ikea.com

I know these are not the only storage solutions for nail polish, but they are the ones that I have heard the most about.
Things to keep in mind when picking your storage method;
How many polishes do you have and how quickly do you see your collection growing? If knew my polish collection was going to expand so rapidly, I probably would have purchased melmer right away. I have quite a few Sterlite boxes that I’ve gone out of my way to repurpose since they are no longer adequate for my storage needs.
How much space do you have? A helmer is an awesome storage unit, but it needs a reasonable amount of space. I have seen some people get creative and make a desk out of a helmer by just putting a board across two of the units, which eliminated the need for some additional furniture. I was able to fit my melmers on top of a short filing cabinet I have, and I’m quite happy because it puts most of them eye level.
Does it protect your polishes? The physical protection is an important factor to me. I have a cat and a dog- the cat is notorious for batting things off tables and dressers, and I would simply hate for my dog to mistake a polish for a toy. Keeping them in my melmer when not in use keeps them safe. I also recommend the melmer or helmer to keep sunlight from getting to the polish. Exposure to light can affect pigments over time, and in my experience, also causes the polish to separate faster.
I hope this has been helpful!
How do you store your polish?
How big is your collection?

Monday, January 9, 2012

OPI Bullish on OPI

Calling bullish on OPI?

Well, I rather like it, bullish or not....

OPI Bullish on OPI from OPI’s 2009 Fall collection, España
The color is a lovely orangey, red brick crème. While it’s not incredibly unique, it is flattering with my skin tone, so I am happy to give it a home in my stash. What does stick out about this color is the incredible shine it had even without top coat. The pictures show you just how shiny it is- can you see the reflection on my nails?
I am a fan of the OPI brush- I really like its width because it spreads the polish so nicely across the nail.
I’m okay with the OPI bottles, but not over the moon with them. I prefer bottom heavy bottles such as China Glaze and Orly because they tend to fall over less when I open the drawers on my polish storage unit. I can’t tell you how many times I’ve accidently knocked over an entire row reaching for a single polish with this brand. 
I picked this color because was looking for something that would be slightly more conservative that day. A classic red is always chick!
Do you have Bullish on OPI?
What is your go to red?